|
Welcome to the vedphoto blog! Here you can keep up-to-date on research (Fluid Lensing), exhibitions (Physics In Vogue and Reactive Reefs) and photo-shoots. Learn about the techniques and stories behind my images by searching for a location or keyword. That picture of fruit bats from Northern Madagascar - I had to wade waist-high in bat guano to get it! Always a humbling experience. Reactive Reefs Anemone TimelapseBy Megan Prakash, vedphoto intern Reactive Reefs team members Megan Prakash, Leo Kheyn-Kheyfets, and Corinn Small investigated coral bleaching through timelapse macro photography, creating a video of the Aiptasia anemone's bleaching process over a 48 hour period. The Reactive Reefs project, done in cooperation with Stanford's Pringle Lab, will aid coral conservation research. A big thanks to Tamaki Bieri and Cory Krediet for their help!
The main issues impeding our timelapse photography were the battery life of the camera equipment and the restrictions of the macro lens' field of view and depth of field. Here was our eventual device:
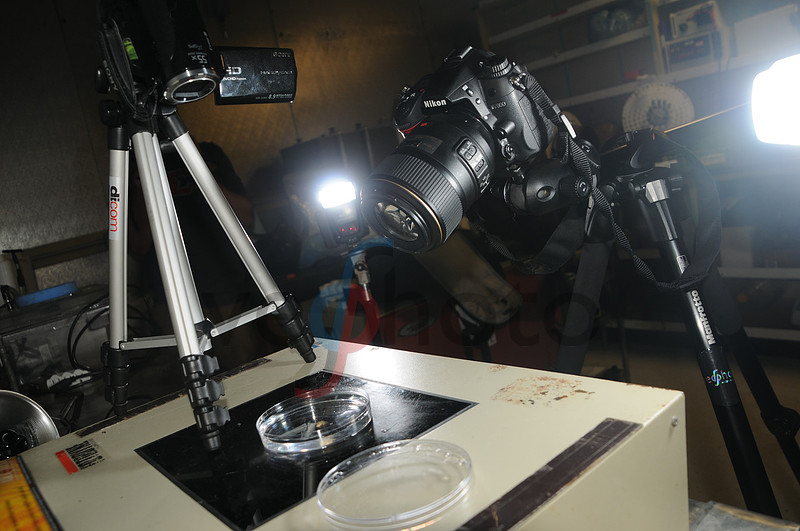
It was the fourth iteration in a long series of trial-and-error creations... Our first setup was intended to inform us about the anemone's movement and the length of time it would take for it to bleach fully. After placing an anemone in the incubator at 34 degrees C for three hours to stress it and trigger the bleaching process, we moved it to a petri dish outside the incubator and under our cameras. A D7000 on a tripod and three flashes (one commander, two slaves) captured a photo once every two minutes, and a Canon camcorder took video. The setup was in a dark room, though the anemone was lit continuously by a blacklight so it would be visible in the video.
Our first attempt The first setup ended up informing us about more than just the anemone – we also realized how impractical our setup was. The type of Aiptasia that we used would take a week to bleach fully outside of the incubator, and the size of the petri dish meant that the surprisingly mobile polyp escaped the camera's view within a couple of hours. Oops. Our second attempt featured a smaller petri dish and a camera positioned directly above the dish to minimize distortion and keep the anemone in a single focal plane. We also simplified the lighting by placing the petri dish in a black tank with a single flash. The photo quality increased, but again the battery lives of the equipment could not outlast the bleaching process. Our results were 152 pristine macro photos... and then 450 pitch-black photos when the flash inside the tank ran out of battery.
The second setup, with only 1 flash lighting the anemone and the camera positioned at the zenith of the dish Third setup: we went in a different direction to circumvent the flashes' battery lives. I decided to make a system that would fit inside of the 34C incubator, shortening the bleaching process to two or three days. Enter the “Nikon iTripod 2000” and a black bucket:
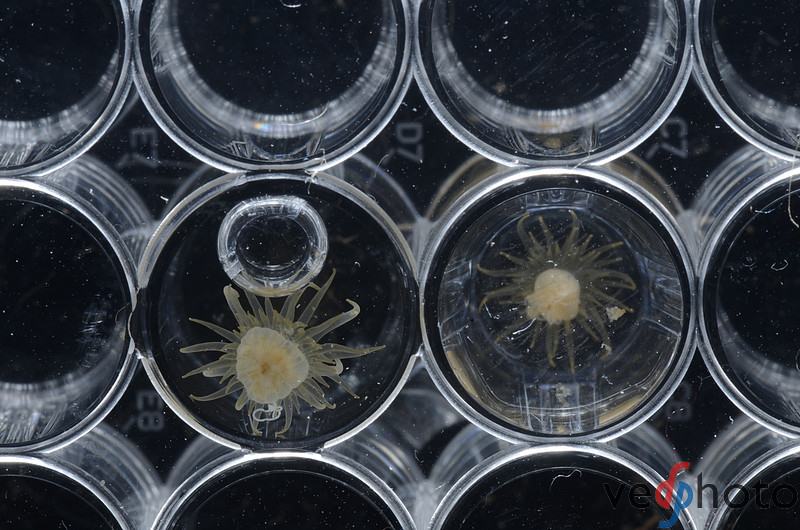
Two anemones confined in a spot plate, the same single-flash setup, and a cardboard DIY solution that fit perfectly in the lower shelf of the incubator. Success was tantalizingly close... alas, the next morning I discovered that one of the batteries in the slave flash had begun to leak, leading to the familiar “200 perfect photos, 400 pitch-black photos” result. Also, the cardboard ended up sagging under the camera's weight, causing the frame and the focus to drift from the anemones. The picture quality was great, though:
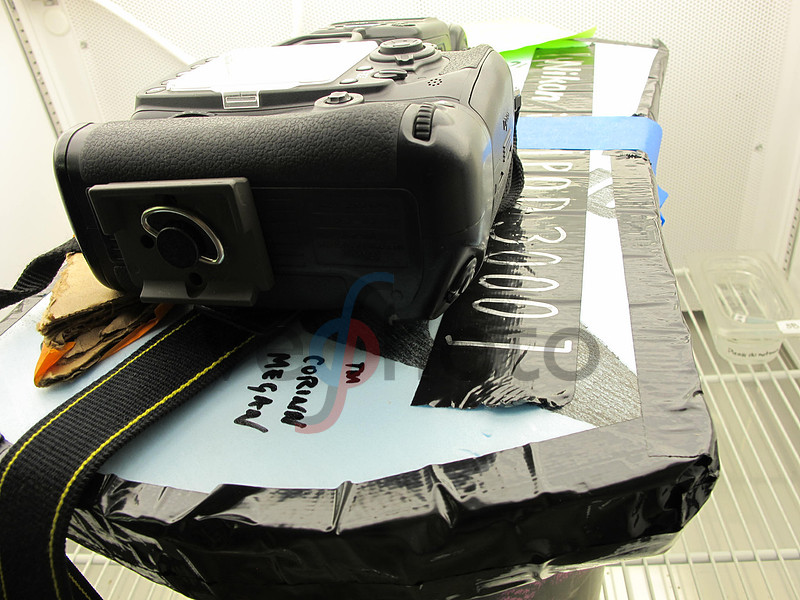
Fourth time's the charm, right? The “Nikon iTripod 3000” featured an innovative foam structure that supported my D300s, battery grip, and SB900 without complaint; it retained the same black bucket body and single-flash setup. We christened it the “Vedphoto Hydrophotography Solution,” or “VHS,” due to its similarity to a large blue VHS tape. Corinn and I slid it into the incubator with a prayer and a fond farewell.
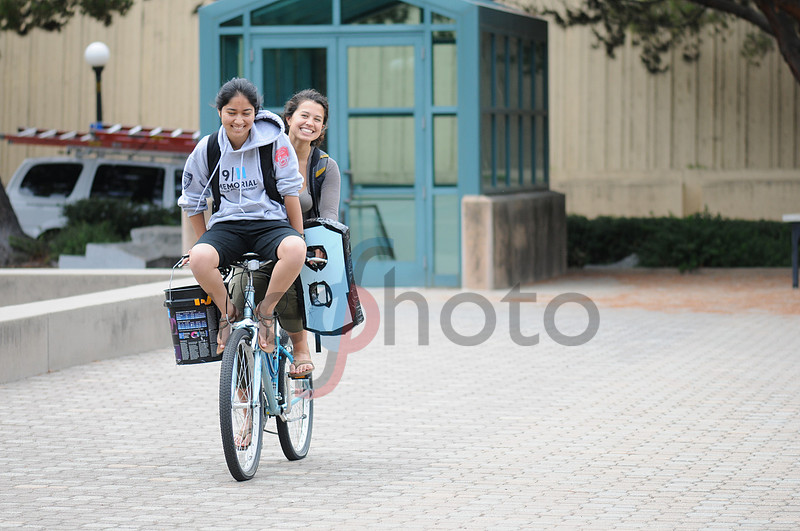
Two people, three cameras, two tripods, foam, and a bucket... on one bike.
The iTripod 3000 featured duct-tape-reinforced edges and a body sculpted from a single piece of blue foam. We ran in every 8 hours to put in fresh batteries and realign the camera. After nearly a week and a half of refining our timing -- Success! We produced the video at the top of this blog post, a compilation of a photo every minute for nearly 48 hours. Exhibition opening in Sacramento August 8 @ 18:00 - Above Below & In-Between
Above, Below & In-Between On exhibit August 2013 @ The Sacramento Temporary Contemporary Opening Reception 8 August at 18:00 "Technology Behind the Images" Talk 10 August at 17:00
Above, Below & In-Between offers a perspective of our galaxy, life and perceptions of temporal and spacial scale. For this photography exhibition, I pioneered a new imaging technology called Fluid Lensing and used mathematical projections and mapping techniques to capture unprecedented high-resolution photographs of celestial events, including the Venus Transit and Supermoon, the tallest organisms on Earth, Sequoia sempevirens of Northern California and marine organisms including an array of coral species imaged for the first time through the surface of the water. I explore the three main realms of our existence, the land, the sea and the sky, and reveal some of their unique denizens.
As a photographer and a physicist, I aim to share my fascination with the nature of light through the photographic medium. My work features diverse facets of the visual world, including the discovery of an extrasolar planet in high school with amateur equipment, Vogue fashion shoots in Moscow, tsingy and bats in Madagascar and celestial phenomena. I did my undergraduate degree in Astrophysics at Moscow State University and Stanford’s Physics Department. Currently, I am a graduate student in Aeronautics & Astronautics at Stanford and scientist at NASA Ames Research Center.
Above, Below & In-Between Exhibition Pieces on Display Front page of NPR + All Things Considered story for Physics In VogueFront page NPR story on Space Vikings and Physics In Vogue today. Hear the story here: http://www.npr.org/2013/08/05/209144805/no-tax-dollars-went-to-make-this-space-viking-photo Physics In Vogue featured in Science, Washington Post and othersLatest: Tune in this week to NPR's All Things Considered to hear a story about Physics In Vogue! My entire science outreach exhibition, Physics In Vogue, including the Space Vikings photoshoot and Discoverer of Worlds pieces is funded by the 2011 Stanford Angel Grant, SiCA Spark! Grants and readers like you. However, it seems a congressional inquiry was required to confirm this. Just as a reminder - no NASA or other governmental or organizational funds, resources or employee time were used to make these pieces. All images appearing in the finished pieces feature my own images, captured with my telescopes and are not NASA imagery. NASA cannot afford to promote their own missions in this way and this is partly why I started this project in 2011, yet more was probably spent in tax-payer employee man-hours investigating me, my exhibition and those involved than it might have cost them to do it themselves. Oh well, at least the science is being spread! I am only done with 2 of the 10 pieces, but I am putting finishing touches on the 3rd. Thank you all for your support and encouragement throughout this process!
Reactive Reefs Catalina ExpeditionBy Megan Prakash, Ved Chirayath Part of the Reactive Reefs team (Ved Chirayath, Tamaki Bieri, Megan Prakash, and honorary member Andrew Elmore) spent 6/22 in Catalina Island's kelp forests, (attempting to) test a setup for underwater gigapixel panoramas. The trip was a practice run for a dive at Ofu, in American Samoa, where the team plans to image coral reefs both from an aerial quadcopter platform using HiMARC's Fluid Lensing as well as underwater with gigapixel imaging techniques. Stay tuned for preliminary results! Below are some features from our trip. Trip video:
We got an early start on Saturday morning, leaving Los Angeles for Long Beach at 5:30am to catch the first ferry to Catalina Island. Once there, we rented diving equipment, had breakfast, and then quizzed some locals on suitable places to photograph, eventually deciding to try both Lovers Cove and Casino Point.
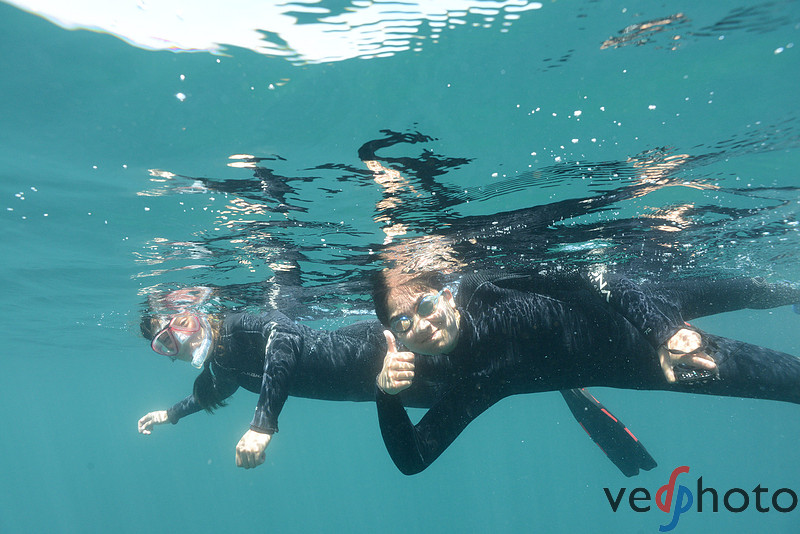
Megan and Tamaki As the sun began to emerge from the morning clouds, we struggled into our wetsuits on the rocky beach of Lovers Cove, then assembled the camera equipment and struck out into the water. The plan was to find small clearings within the cove's kelp forest that would make ideal locations for the center of a panorama. Luckily, there were several of these, so we spent the rest of the morning in the water helping Ved capture photos. Since he was turning in full circles to make 360 degree panoramas, the rest of us had to swim along behind him to stay out of his field of view, looking like some kind of amateur synchronized swimming team! Several sacrifices were made for the sake of science – our tripods were too flimsy to resist the water and eventually fell prey to forces of nature, though we tried to improvise with diving weights to hold them in place. Ved also cut his ankle pretty badly on sharp barnacles while trying to get out of the water, but continued valiantly with his camera through stinging salt water and curious fish. Casino Point, our second location, was about a mile's walk from Lovers Cove. The area was much more crowded, with several scuba divers and snorkelers exploring the water. We did find some photogenic areas and took more photos, then spent the rest of the day enjoying the island. The setbacks prevented us from practicing with a final setup for Ofu, but we learned a lot about what we needed to be successful. Next time, we'll definitely pack (1) a much heavier tripod, (2) booties and gloves, and (3) a buoy to help carry the heavy equipment in the water. Hopefully, fewer DIY solutions will be needed.
|